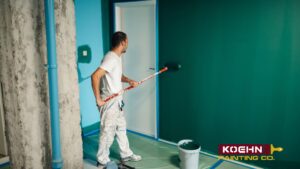
Painting your home’s exterior is one of those projects that sits right at the intersection of challenge and reward. If you’ve ever wondered how to paint a house exterior yourself, the good news is that it’s absolutely something a determined homeowner can do.
Still, it’s a job that demands planning, patience, and respect for the details. The process involves far more than just picking out a color and brushing it on; it’s a careful orchestration of preparation, timing, technique, and safety.
A successful DIY paint job begins long before the first stroke of the brush — with the right tools, surface cleaning, and weather considerations setting the stage for results that look professional and last for years. Skipping any of these steps can lead to peeling, uneven coverage, or costly do-overs down the road.
Before you begin, it’s essential to equip yourself properly. Brushes, rollers, drop cloths, painter’s tape, sandpaper, and ladders are just the basics. Many DIYers also choose to rent sprayers and scaffolding for efficiency and safety, especially when tackling two-story homes.
However, preparation remains the foundation of success. That means cleaning off dirt, mildew, and old paint; repairing cracks and rot; and ensuring every surface is primed and dry before applying a single coat.
The type of paint you use matters just as much—acrylic latex paints are standard for durability and flexibility, while specialty primers and finishes may be needed for wood, metal, or brick surfaces. Even the timing of your project is important: mild, dry, cloudy days between 50–70°F provide the best conditions for long-lasting results.
Here’s what you’ll need to have and do before you start:
- Tools & Supplies: Brushes, rollers, drop cloths, ladders, sandpaper, and painter’s tape form your basic toolkit. A paint sprayer or scaffolding can help speed up large projects.
- Surface Preparation: Clean thoroughly, repair damage, and remove peeling paint before applying primer or color. Remember: paint only adheres as well as the surface beneath it.
- Choosing Paint: Opt for high-quality exterior acrylic latex paints for flexibility and durability. For specialty materials like wood or metal, choose paints and primers designed for those surfaces.
- Safety Precautions: Secure ladders, wear sturdy shoes, and work with a partner when possible. Avoid painting in direct sun or high winds.
- Weather Awareness: Paint only in mild, dry conditions. Avoid painting in heat, humidity, or dampness, as these can cause bubbling or cracking.
For first-timers, it’s crucial to recognize that most of the work happens before you actually paint. Cleaning, sanding, taping, and setting up ladders often take longer than applying the paint itself. The physical demands of exterior painting—balancing on ladders, working overhead, and handling heavy equipment—can also catch beginners off guard.
Add in the cost of supplies and potential touch-ups, and the “budget-friendly” DIY approach can become surprisingly expensive if mistakes happen. Still, when done carefully, a self-painted exterior can be a rewarding achievement, saving on labor while adding personal pride every time you pull into the driveway.
Here are some common challenges DIY painters face:
- Time and Labor: Expect several days to complete even a small one-story home.
- Physical Demands: Ladders, stretching, and lifting can be tiring and risky.
- Hidden Costs: Paint, tools, and repairs add up quickly, especially if mistakes require rework.
- Cleanup: Sprayers and brushes need to be washed after each use, and masking tape must be removed before the paint dries completely.
Professional painters follow a structured, top-down method to achieve clean, consistent finishes—and DIYers can learn from that discipline. The process typically begins with a final prep check, ensuring all tape, ladders, and tools are secure before painting starts.
Working from the roofline downward prevents drips and streaks, while maintaining a “wet edge” helps blend each section seamlessly. Wide walls are painted in sections, often using a combination of sprayer and roller for speed and evenness, and every pro insists on two coats for durability.
The final stages focus on clean edges, detailed inspections, and careful aftercare while the paint cures. Patience here pays off—proper curing and light maintenance can stretch the lifespan of a paint job to a full decade.
Key professional tips for best results:
- Work from top to bottom: Start with eaves, soffits, and trim before tackling walls.
- Maintain a wet edge: Slightly overlap strokes to avoid visible lap lines.
- Apply two coats: The first coat seals; the second coat provides protection and richness.
- Inspect under angled light: Evening light reveals thin spots better than direct sunlight.
- Allow proper curing time: Wait at least two weeks before washing or exposing to water.
Ultimately, painting your house exterior yourself is a test of both skill and discipline. It’s not just about changing color—it’s about preserving your home, boosting curb appeal, and protecting your investment from the elements.
Let’s dive deeper into the topic in the next sections.
Is Exterior Painting Something You Can Do By Yourself?
If you’re considering painting your house’s exterior yourself, the answer is yes—it’s absolutely possible. Many homeowners have successfully taken on exterior painting projects as DIY tasks and are proud of the results.
But—there’s always a but—before you buy gallons of paint, it’s helpful to understand what’s involved. Painting your home isn’t just about choosing a color; it’s about preparation, weather, tools, and safety. Proper planning can make the process easier, while skipping steps can turn it into a headache that costs more to fix later.
A. What You’ll Need Before You Start
1. The right tools and equipment
Even the most motivated DIY painter needs the proper setup. According to professionals, a basic toolkit for exterior painting should include:
- Brushes, rollers, and an optional paint sprayer for faster, more even coverage.
- Drop cloths or plastic sheets to protect plants, windows, and sidewalks.
- Painter’s tape for masking edges and fixtures.
- A sturdy ladder or, for multi-story homes, scaffolding.
- A wire brush and sandpaper for removing flaking paint.
- Cleaning supplies: power washer or hose, mild detergent, and scrubbing brushes.
Many DIYers also mention renting high-quality sprayers and scaffolding instead of buying them outright. A good sprayer provides an even finish but requires some practice to control overspray and avoid wasting paint.
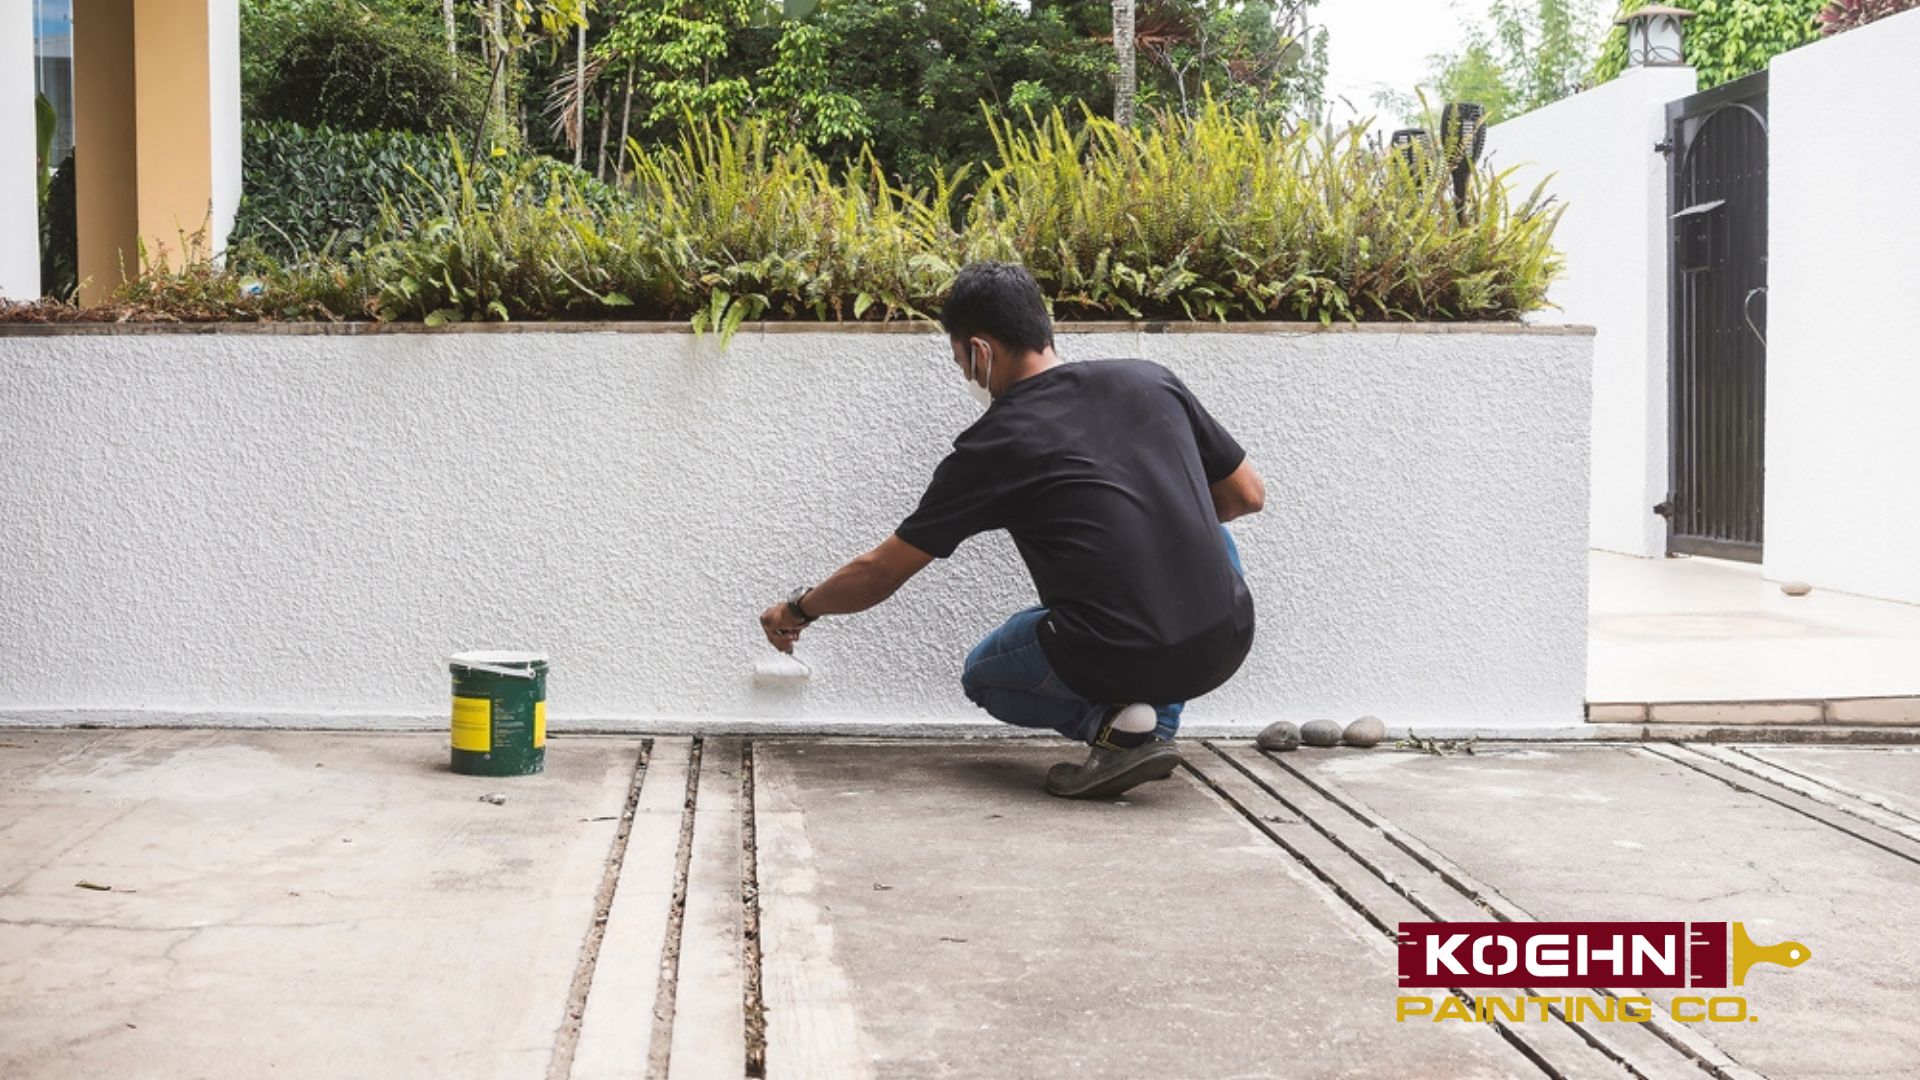
2. Cleaning and prepping your surface
No paint will last if applied over dirt, mold, or old, flaky coatings. We always emphasize that prep is key. Power-wash or scrub your walls thoroughly and let them dry completely before applying paint.
Check for damage —such as cracks, rot, or loose caulking— and repair these areas before you start. For wood, use exterior-grade filler or two-part polyester filler to patch imperfections. For masonry or stucco, fill gaps with a heavy-duty exterior filler.
If the old paint peels off easily in the “tape test” (pressing masking tape over a small cut and peeling it away), it must be stripped before repainting.
3. Choosing the right paint
Not all paints are equal, especially for outdoor use. We recommend acrylic paints because they expand and contract with temperature changes and are washable and durable. Sherwin-Williams suggests using high-quality exterior acrylic latex paints designed to resist moisture and UV damage.
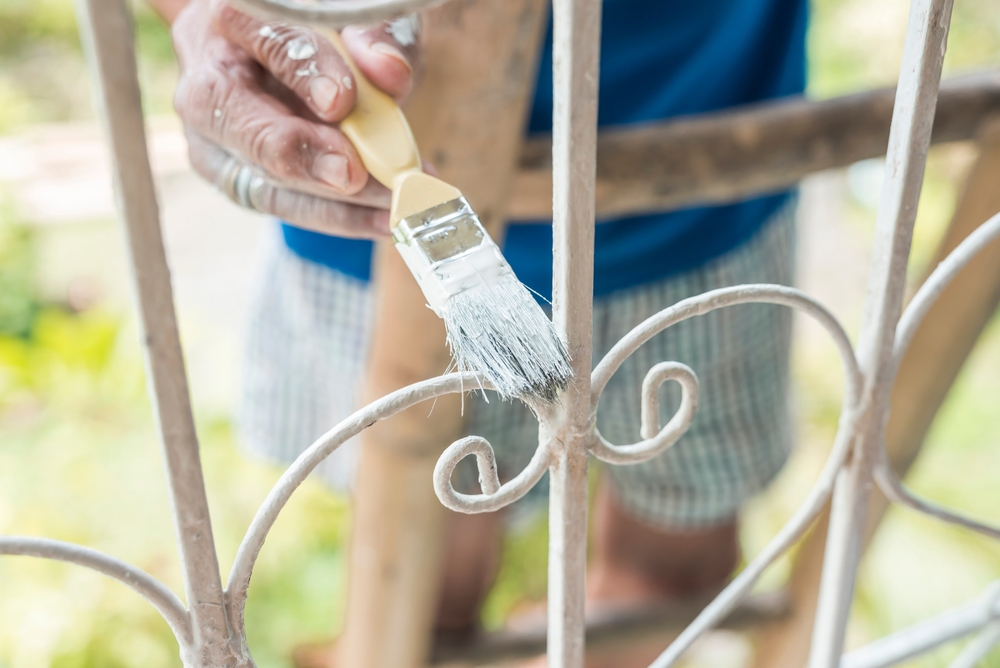
On timber trim or window frames, water-based enamel paints are ideal for a smooth, durable finish. For metal gutters or doors, use a primer compatible with metal to prevent rust.
If your house has brick walls, take extra caution. Brick needs to breathe, so painting over it can trap moisture unless you use products meant for masonry. When in doubt, get a professional opinion before covering bare brick.
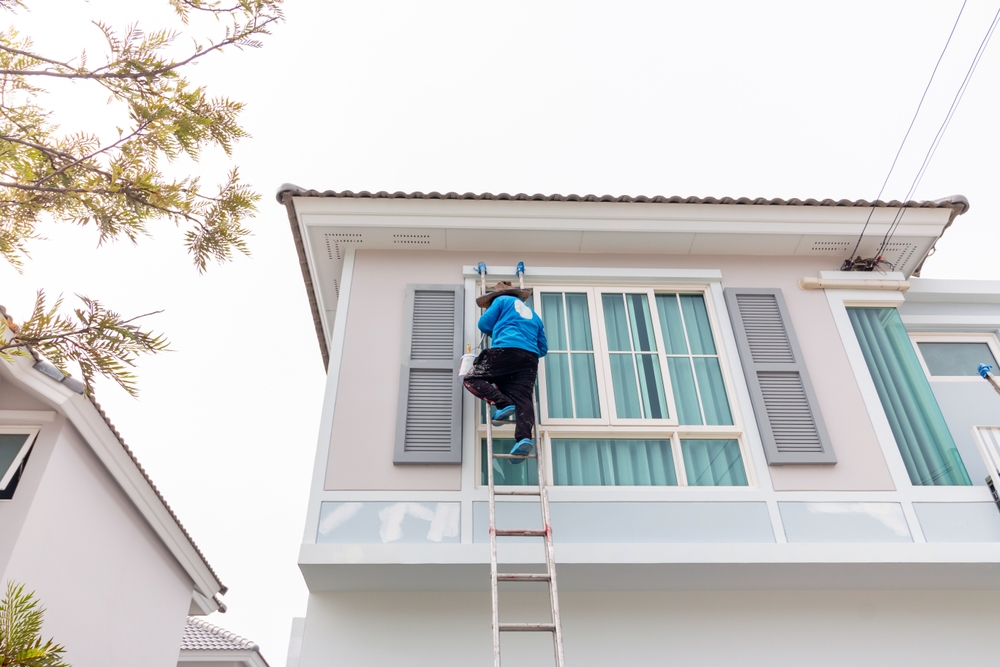
4. Safety first
Exterior work usually means heights, ladders, and potential hazards. You’ll want sturdy footwear, a ladder placed on level ground, and ideally another person around while you work.
Professionals usually use scaffolding instead of ladders for multi-story homes because it’s safer and allows easier movement. Never lean too far while painting; it’s safer to climb down and reposition your ladder.
5. Timing matters
Even if you’re ready to roll, don’t start until the weather’s on your side. The best results come in mild, dry, and cloudy conditions — around 50–70°F (10–21°C). Avoid hot, windy, or damp days; too much heat dries paint before it adheres, and moisture can cause bubbling or peeling.
B. Setting Expectations: Time, Labor, and Realities of DIY
Many first-time painters underestimate how physically demanding and time-consuming exterior painting truly is. Some experienced individuals who shared their stories often noted that prep work — not painting — required most effort. Cleaning, sanding, masking, and setup can take a full day or more before the first brushstroke.
Even for a small one-story home, expect to spend several days on the project, especially if you’re learning as you go. Large houses or those with complex architecture (like high gables or mixed materials) may require a week or more.
DIYers also warn about the constant trips to the hardware store: running out of paint, brushes, or tape in the middle of the job slows progress and affects results. The most organized homeowners prepare a checklist and buy extra supplies upfront to avoid interruptions.
There’s also the question of physical ability. Climbing ladders for long stretches, stretching to reach corners, and handling paint sprayers overhead can be exhausting. Professionals work in teams and rotate positions to maintain focus and consistency—solo painters don’t have that luxury.
Finally, the cleanup takes longer than expected. Sprayers and brushes must be cleaned after each use, or they’ll clog. You’ll also need to remove tape before the paint fully dries to prevent tearing edges.
C. The Hidden Costs of “Doing It Yourself”
DIY saves money on labor, but that’s only part of the overall cost. Paint, primer, brushes, sandpaper, fillers, and safety gear all add up. Renting or buying ladders and sprayers increases the expenses even more. And if something goes wrong—like uneven coverage, paint runs, or improper curing—the cost of fixing it can be higher than what a professional might have charged in the beginning.
There’s also insurance to consider. Professional painters carry coverage in case of accidents or property damage. Homeowners tackling the project themselves assume all liability, including potential injuries from falls or exposure to chemicals.
D. When DIY Works — and When It Doesn’t
If your home is single-story, in good condition, and you’re confident with tools, you can absolutely learn how to paint a house exterior yourself. With patience, preparation, and the right materials, your work can look professional and last for years.
But for taller homes, multi-surface exteriors, or areas needing structural repairs, hiring exterior house painters is often the safer, more efficient choice. Pros understand how to prep different materials, mix products for local climates, and work safely at heights.
They also bring efficiency. What takes a DIYer a week, a pro crew might complete in two or three days.
E. The Risks of DIY Exterior Painting
1. Safety concerns
Painting involves ladders, power equipment, and often unstable surfaces. Even DIYers admit that working at height is the most difficult and risky part. Professionals use scaffolding and harnesses, things few homeowners invest in.
2. Weather and timing
DIYers often misjudge drying times and weather conditions. Paint applied on a humid or windy day can blister, crack, or peel within months.
3. Equipment misuse
Sprayers save time but can easily cause overspray, wasting paint and coating unintended surfaces (like your car or your neighbor’s windows) if not handled correctly.
4. Fatigue and inconsistent coverage
Painting for long hours causes uneven pressure and missed spots, especially on high or shaded areas. Professionals ensure consistency by implementing team rotations and clear systems.
5. Long-term durability
Even if your paint looks great on day one, lack of priming, poor surface prep, or cheap paint can shorten its life dramatically. What should last a decade may fade or peel in two years.
Bottom line: Yes, you can learn how to paint a house exterior yourself, and many homeowners do. But the best results come from patience, planning, and respect for the process. The risks—safety, time, cost, and quality—are real, but so is the satisfaction of standing back and saying, “I did that.”
If you’d rather skip the ladders and long weekends, Koehn Painting is here to assist. We provide professional-grade materials, prioritize safety, and bring experience to every project, ensuring your home looks fantastic and stays protected for years.
Contact us here if you would like to find the best painting contractor for your residential or commercial painting needs.
The Step-by-Step Exterior House Painters Follow
So, how to paint a house exterior yourself? If you still want to go for it, then do it properly. You need to get all the steps exterior house painters follow. And we’re here to share them with you.
This walk-through is designed so you can sanity-check your plan, understand the “why” behind each step, and see clear answers to everyday questions we hear, like “What is the fastest way to paint the exterior of a house?” and “In what order should you paint the exterior of a house?” woven in.
Use this as your field manual for exterior painting. It reflects how pros structure the job so your result looks clean on day one and still holds up years later.
Step 1: Final Prep Check — The Calm Before the Paint
Everything you’ve done so far—washing, sanding, caulking, priming—leads to this moment.
Before opening the first can, do a last-minute sweep. Make sure every surface is dry, all edges are taped, ladders are stable, and your primer has cured.
Check the weather forecast again (pros follow this rule). Even a single surprise rain cloud can ruin hours of preparation. Shake or stir your paint well; pigments settle quickly. Once you start, the project gains momentum, and you don’t want to stop halfway to look for missing tools.
This quick pause—five minutes of checking—can save you from the most common rookie mistake in exterior painting: starting before everything is ready.
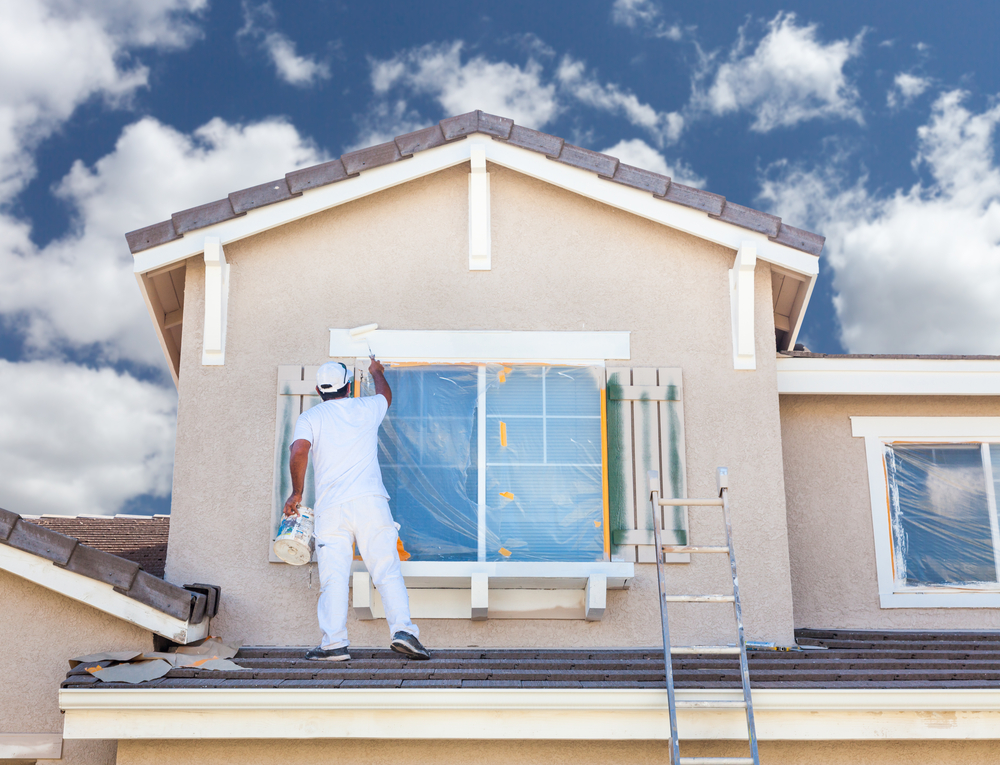
Step 2: Start From the Top
Professional exterior house painters always begin at the top and work downward. Gravity guarantees that drips flow down, not up, and working from the top lets you smooth them out as you go.
Start with eaves, soffits, gutters, and fascia boards. Cut edges with a brush before switching to a roller or sprayer. The secret? Keep a “wet edge.” Slightly overlap each new stroke into the still-wet paint so you don’t get lap marks.
Imagine painting a two-story home: you begin at sunrise, the light is soft, the air cool. You hit the high trim first, following the shade. By the time the sun moves, you’ve descended to the lower walls, catching drips as you go. That’s the rhythm the pros use.
Step 3: The Walls — Big, Bold, and Even
This is where the magic happens. For exterior painting, consistency across wide surfaces defines quality. Paint in complete wall sections rather than jumping around; color and sheen look uniform only when each face is completed while still wet.
Rollers work best in overlapping “W” or vertical strokes; sprayers cover faster but need steady motion to avoid thin bands. When spraying, maintain a 10–12-inch distance, move parallel to the wall, and start or end each pass slightly off the surface to prevent blobs.
Sun position matters more than most DIYers realize. Follow the shade around the house; painting hot, sun-struck walls can flash-dry the surface, leaving dull patches and poor adhesion.
Step 4: Second Coat — The Longevity Layer
Most paint labels—and every professional—insist on two coats. The first coat seals and evens the surface; the second delivers depth, durability, and real weather protection.
Let the first coat cure properly (usually 4–6 hours in mild weather). Rushing this step can trap moisture, creating early peeling or blistering. Professionals know that the second coat is what separates a five-year paint job from a ten-year one.
Think of it like sunscreen for your home: one layer protects, but two make it last.
Step 5: Trim, Doors, and Details
Whether you started with them or saved them for last depends on in what order you paint the exterior of a house—but now it’s time for precision.
Use angled brushes to create sharp lines along edges. Paint trim boards, window frames, and doors carefully. If you’ve removed doors, lay them flat to avoid drips; if not, paint from panels to edges vertically.
Keep windows slightly open as they dry so they don’t glue shut. For shutters or railings, paint the edges first, then finish the flat surfaces. Every pro has learned the hard way: gravity finds every missed corner.
Step 6: Clean Edges, Not Just Surfaces
Clean lines elevate a paint job from good to professional. Peel painter’s tape while the paint is still tacky, not fully dry, to avoid tearing the film or pulling chips.
Keep a damp cloth or razor blade handy for quick cleanup on glass or metal trim. Making small corrections right away can save hours later.
Step 7: Find the Rhythm
Speed comes from proper sequences, not shortcuts. Here’s the rhythm used by seasoned exterior house painters:
- Spray the large wall surfaces for fast, even coverage.
- Back-roll or back-brush immediately after spraying to press paint into the texture and ensure a consistent sheen.
- Cut in edges and trim while the first coat dries.
- Repeat the same circuit for the second coat.
A skilled two-person crew can complete an average single-story home in two or three days. But even with pro speed, they never skip drying time. That’s the difference between a weekend redo and a decade of protection.
If you’re tackling the job alone, keep your path logical—front, sides, then back—so you’re not dragging hoses or ladders through fresh paint.
Step 8: Final Walk-Through
When you think you’re done, you’re not quite done. At day’s end, pros walk the perimeter at sunset. The low-angle light reveals thin spots, uneven texture, or missed drips better than noon brightness.
Touch up those areas immediately; fresh paint blends more seamlessly now than after full cure. Check every caulk line and corner joint. Once satisfied, remove masking, reinstall fixtures, and do a final site cleanup.
Proper cleanup matters: wash brushes, rollers, and sprayers right away; never pour rinse water into storm drains—dispose of it according to local environmental guidelines. This last step isn’t glamorous, but it’s what keeps your next project from starting with dried, useless tools.
Step 9: Curing and Aftercare
Paint continues curing for days after it feels dry. Avoid hosing or washing the exterior for at least two weeks. Keep sprinklers away from walls and allow the paint to harden naturally.
After that, simple habits extend its life:
- Give your siding a light annual wash to remove dust and pollen.
- Re-caulk small cracks that reopen with seasonal changes.
- Touch up chips early, rather than waiting for large flakes to form.
With these habits, an exterior paint job can last 7–10 years, depending on climate and sun exposure. Homes near the coast or under trees might need refreshing sooner; dry, temperate zones can stretch longer.
Quick Recap
- How to paint a house exterior yourself: Once prep is done, start from the top, work in sections, maintain a wet edge, and apply two coats of quality acrylic latex paint under mild weather.
- In what order should you paint the exterior of a house? Walls-first top-down for speed, trim-first for control—both are professional-grade methods if followed consistently.
- What is the fastest way to paint the exterior of a house? Spray + back-roll on calm, dry days with proper masking and a logical loop around the house.
Painting your own home’s exterior is more than choosing the right color and going with it. It’s discipline, order, and patience. Follow these steps, and you won’t just learn how to paint a house exterior yourself; you’ll understand why professionals do it this way.
That’s what transforms a weekend project into a finish that still looks crisp every time you pull into the driveway years from now.
Conclusion: How to Paint a House Exterior Yourself
So, now that you’ve walked through the tools, prep, and step-by-step process, you know the truth about how to paint a house exterior yourself: it’s completely doable, but it demands focus, patience, and respect for the craft.
Every stage, from surface prep to the final brushstroke, is about creating protection as well as beauty.
Painting your home means maintenance and preservation. A well-executed exterior paint job shields your investment from the elements, raises curb appeal, and can even add measurable value to your property.
If you’ve decided to do it yourself, take it one section at a time. Plan for breaks, double-check your weather window, and don’t rush the drying process.
The quality of your prep will determine how long your results last, and the satisfaction of standing back and seeing a flawless finish is worth every minute you put in.
Remember that even experienced DIYers reach their limits. If your home is multi-story, heavily weathered, or made from complex materials, calling professional exterior house painters isn’t “giving up”; it’s about prioritizing safety, efficiency, and guaranteed quality.
Whether you roll up your sleeves or hire the experts, knowing how to paint a house exterior yourself means recognizing what quality really takes and making sure every minute of your effort pays off.
Discover the Koehn Painting difference – contact us today for a free estimate and step into a vibrant, freshly painted home!