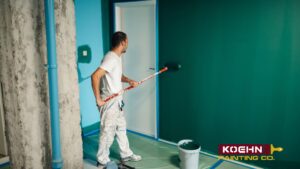
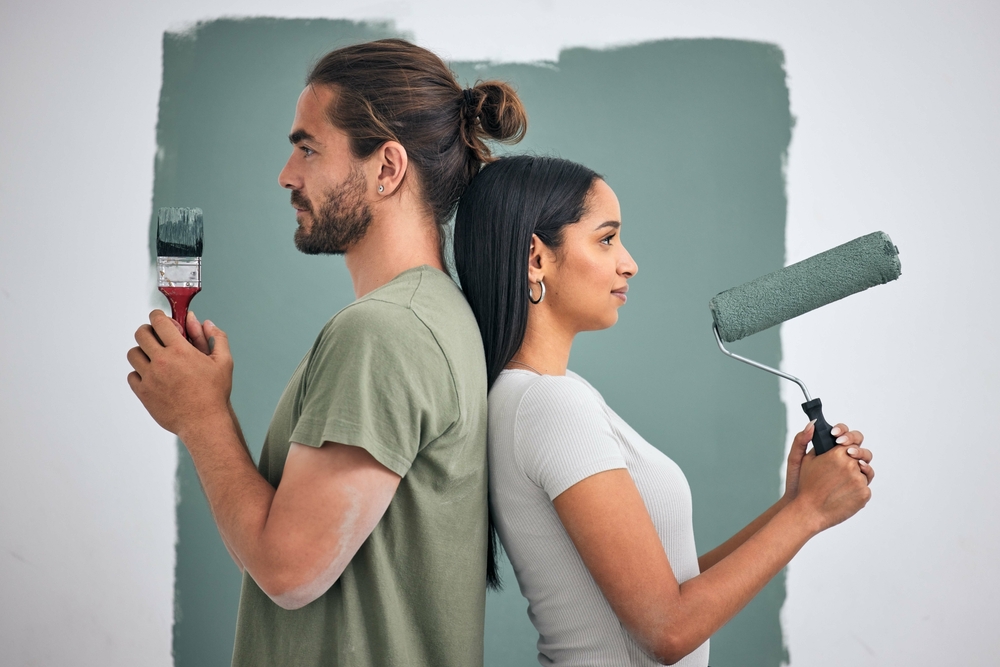
Painting is one of those rare home improvements that completely transforms a space without costing too much. One coat can change the mood, the lighting, and even how spacious a room feels. While anyone can pick up a brush, not everyone can achieve that flawless, professional look. However, learning how to professionally paint a room well isn’t just about luck; it’s about understanding the right process.
Professionals follow a method. Every line, every stroke, and every pause between coats is intentional. Once you grasp that rhythm, your results begin to resemble those of a hired crew.
Think of it as part craft, part science:
- The right tools make or break your finish.
- Proper prep determines how long your paint will actually last.
- Technique and patience separate the amateurs from the pros.
- Timing—for drying, layering, and cutting in—can mean the difference between seamless color and visible streaks.
Professional painters know that the real work starts before the paint hits the wall. They invest in preparation, not just pigment. That’s why their jobs don’t peel, crack, or leave roller marks after six months.
On average, painting a standard 150-square-foot room takes a full day from prep to cleanup and costs around $50–$200 in supplies. But if you approach it with the right mindset and follow the techniques below, you’ll get more than fresh color; you’ll get a durable, clean-lined finish that instantly elevates your space.
By the end of this guide, you’ll understand:
- How to paint a room like a professional, step by step.
- Which pro painting tips actually matter (and which are just internet myths).
- And what tools make the difference between a weekend project and a showroom-quality result.
So, let’s get straight to it: how to paint a room like a pro.
How to Paint a Room Like a Pro
If you ask a professional painter what separates an amateur job from a flawless one, they’ll tell you this: it’s all in the prep and the process. The actual painting can even be seen as the easy part. The difference lies in what happens before and between the coats.
Learning how to paint a room like a pro is similar to learning choreography. Each move prepares for the next. When done right, the entire process feels smoother, cleaner, and more satisfying. You’ll spend less time fixing mistakes and more time enjoying the finished look.
So, before you grab a roller, let’s go through the same process that professional painters follow from start to finish.
Step 1: Plan & Prepare the Space
Every great paint job begins long before the first drop of color touches the wall. Preparation is your foundation, and pros never skip it.
Start by giving yourself a blank canvas.
Clear out as much furniture as possible. If something is too heavy, move it to the center of the room and cover it with plastic sheeting. Secure the edges with painter’s tape to prevent dust and splatter from getting underneath. Using one large sheet instead of multiple smaller ones could be faster and cleaner.
Next, protect your floors. Canvas drop cloths are ideal because they don’t slip like plastic, but if you’re on a budget, paper-backed plastic works well for hardwood. For carpet, tape the edges to the baseboards to keep everything sealed tight.
Now, go over your walls like a detective:
- Remove all outlet and switch covers (toss the screws in a labeled bag).
- Take down shelves, art, nails, and hooks.
- Look for dents, chips, or cracks.
- Lightly sand away any rough spots or peeling paint.
- Spackle and smooth over holes with a putty knife, then let them dry.
Once patched, wipe the walls down. You can use warm water and mild soap, or a trisodium phosphate (TSP) solution for greasy areas. Clean walls ensure the new paint sticks evenly and lasts longer.
A final note before you move on: this step isn’t glamorous, but it’s what gives your results that “pro” look. A little patience here can save you from redoing an entire wall later.
Step 2: Gather the Right Tools & Materials
No professional starts without checking their kit first. The right tools define the quality of your finish. Your essential checklist should include:
- 2–2.5″ angled brush (for cutting in edges)
- 9″ roller frame with 3/8″ nap microfiber roller cover
- 5-gallon paint bucket with roller grid (less mess, faster refills)
- Extension pole (to avoid the ladder shuffle)
- Painter’s tape for clean edges
- Drop cloths or tarps
- Putty knife, spackle, sandpaper (around 220 grit)
- Primer and interior paint (latex or acrylic recommended)
Pro tip: skip the tray when possible. A 5-gallon bucket with a roller screen provides cleaner rolls, fewer drips, and less paint waste.
Step 3: Prime for Perfect Adhesion
This is where patience pays off. Professionals prime even when they don’t “have to,” because primer creates a consistent surface and prevents flashing (that uneven shine that shows through new paint).
Use a tinted primer if you’re switching from dark to light, or even from one bold hue to another. It saves you a coat later. Apply it with your roller using smooth, overlapping strokes, and lightly sand once it’s dry for a silky surface before painting.
If your walls are in perfect condition and you’re using a paint-and-primer combo, you can skip this step. But if there’s any doubt: prime. It’s the secret weapon of anyone who truly knows how to professionally paint a room.
Step 4: Cut-In Like a Pro
Now comes the part that separates the confident from the cautious: cutting in. This means painting the borders of your walls—the tight edges around ceilings, windows, and trim—where rollers can’t reach.
Load just the bottom inch or two of your brush, tap off excess, and guide your strokes slowly and steadily. Don’t rush. Keep a damp cloth nearby for quick cleanups.
If you’re using painter’s tape, paint next to it, not on it, to prevent bleeding. And here’s a pro secret from: always remove tape while the paint is still wet. Waiting until it dries risks pulling off part of your new finish.
Think of this stage as the “framing” of your artwork. Clean edges make everything look intentional, even if the color itself is simple.
Step 5: Roll for an Even Finish
Now it’s time for the fun part.
Pour your paint into your bucket or tray, roll it along the grid until evenly coated, and begin in one corner of the room.
Paint using the “W” technique—roll up, down, and diagonally to form a “W,” then fill in the gaps without lifting your roller. This motion spreads paint evenly and prevents harsh lines or roller marks.
Keep these tips in mind:
- Work in 3–4 foot sections.
- Always roll wet to wet, don’t let edges dry before overlapping.
- Don’t press too hard; let the roller’s weight do the work.
- Step back occasionally to check for missed spots or sheen differences.
If you notice streaks or uneven areas, lightly “back-roll” with a nearly dry roller to blend the texture. This subtle move is one of those small details pros swear by.
Step 6: Apply a Second Coat
Once the first coat dries—usually after 2–4 hours—decide if you need a second. Spoiler: you almost always do.
A second coat gives depth, uniformity, and extra durability. Even high-end paints rarely look their best with just one layer.
Use the same process as before: cut-in, then roll using your “W” pattern. The color will look richer, the finish smoother, and the light will bounce more evenly across the room.
Step 7: Clean Up & Maintain
When the walls are done, resist the urge to collapse on the couch just yet. Proper cleanup keeps your tools reusable and your workspace safe.
- Brushes & rollers: Rinse latex paint with warm water until clear. For oil-based paint, follow the manufacturer’s solvent guidelines.
- Storage: Wrap brushes in plastic or store them hanging to keep bristles straight.
- Leftover paint: Seal the can tightly and store it upside down to create an airtight seal.
- Quick tip: Keep a labeled jar of leftover paint for touch-ups on small scuffs or nicks later.
Cleaning thoroughly is part of what defines how to professionally paint a room. It’s what turns a job well done into a lasting result.
Once you’ve completed all these steps, take a step back and admire your work. You’ll notice the lines are crisp, the texture smooth, and the color balanced from corner to corner. That’s not luck, that’s process.
And that process is exactly how to paint a room like a pro.
Now, you know the system that professional painters trust every single day. With the right tools, prep, and mindset, your next project won’t just look great, it’ll look expertly done.
Contact us here if you would like to find the best painting contractor for your residential or commercial painting needs.
Pro Painting Tips: Little Habits, Big Results
Here’s where things get interesting. You’ve already learned the process, but now comes the fun part: the secrets. These are the pro painting tips you pick up only after hundreds of rooms, late-night touch-ups, and a few accidental paint footprints. They’re the tiny details that make walls look flawless and help pros work faster, cleaner, and smarter.
You can follow every tutorial on how to paint a room like a pro, but it’s these small habits that separate a decent job from the kind that makes people ask, “Who did your walls?”
I. Pick Smarter Tools, Not Just Pricier Ones
Professionals understand that the tool isn’t just for applying paint; it’s a part of the finish.
A 2–2.5-inch angled brush is perfect for corners and trim, while a 9-inch roller with a 3/8-inch nap gives even coverage on standard walls. High-quality brushes and microfiber rollers might cost a few dollars more, but they load paint evenly, cut sharper lines, and last through multiple projects.
Even brush stiffness matters: stiffer bristles give better control on edges, while softer nylon filaments are ideal for smooth, self-leveling paints on doors and cabinets.
Pro move: Don’t toss brushes after one use. Clean them thoroughly and keep their original “keeper” sleeve. It reshapes the bristles and prevents mold.
II. Mix All Your Paint Cans Together
If you’ve ever noticed slight shade differences between walls, this is why.
Even cans labeled with the same color can vary slightly because of mixing or storage differences. Pros avoid this by boxing their paint, pouring all gallons into one large bucket, and stirring well.
It may seem tedious, but this one habit guarantees that your color stays 100% consistent across every wall, corner, and touch-up. Remember to stir occasionally during the job too, as pigments settle quickly, and uneven stirring can lead to uneven tones.
III. Never Skip the Paint Prep
Pros never rush prep work, even if it’s the least glamorous part. Some call it the necessary step no one enjoys, but every good paint job starts with it.
That means scraping off flaking paint, sanding rough patches, filling dents with spackle, and caulking gaps. Also, cleaning walls with a mild detergent (or TSP for heavy buildup) ensures that new paint adheres properly.
Another great tip is to lightly sand after priming for that “silky finish” that catches the light evenly once painted.
Even though prep doesn’t make the wall beautiful yet, skipping it guarantees you’ll see every imperfection when the light hits the wall later.
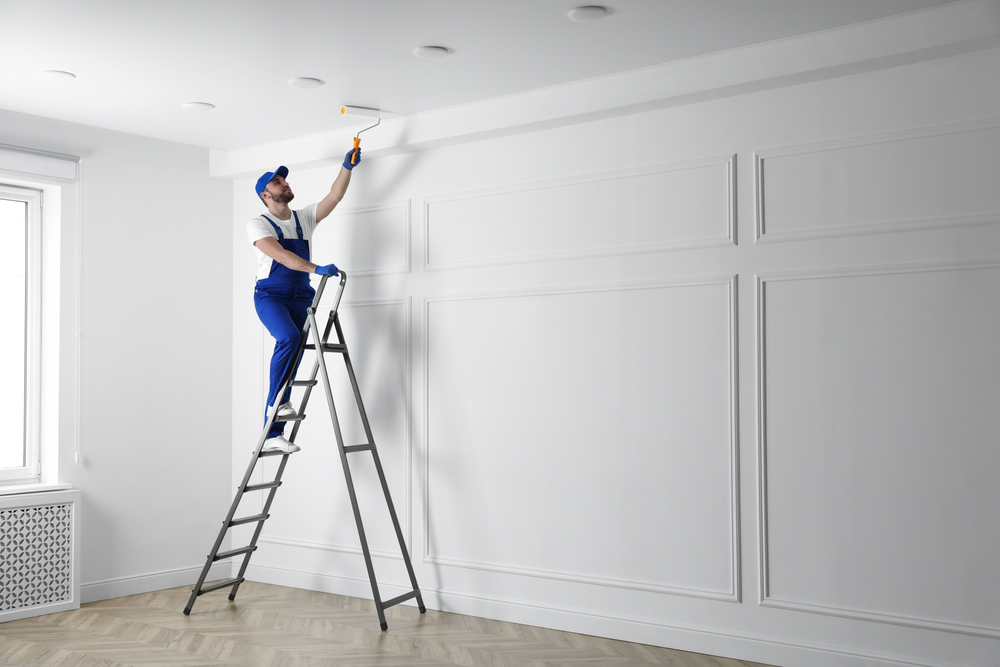
IV. Roll With a Pole, Not a Ladder
Ladders slow you down and cause uneven pressure as you lean or stretch. Every amateur should ditch the short roller handle and use a telescoping extension pole instead.
A 30–36-inch pole provides better reach for standard ceilings and maintains even pressure, reducing lap marks. It is also recommended to choose one with a soft, nonslip rubber grip and a metal threaded end. All-plastic models are too flexible and can snap under pressure.
This simple upgrade saves your back, keeps you off the ladder, and makes rolling faster, steadier, and cleaner.
V. Roll From a Grid, Not a Tray
Professionals rarely use plastic roller trays. They’re messy, spill easily, and hold too little paint. Instead, it’s better to roll directly from a 5-gallon bucket fitted with a paint grid, a rigid metal screen that hangs over the rim.
Dip your roller halfway, roll off excess on the grid, and keep moving. At the end of the day, simply drop the grid into the bucket, snap on the lid, and enjoy zero cleanup and no wasted paint.
Bucket-and-grid setups are the fastest way to maintain even paint loading and minimize drips.
VI. Finish One Wall Before Moving On
It may seem obvious, but consistency is key. Finishing one wall completely before starting another helps keep a “wet edge” and prevents visible seams or texture differences once the paint dries.
That’s why professionals roll each section in 3–4-foot zones, always keeping the roller wet. It’s not about speed — it’s about rhythm. Continuous rolling helps blend strokes seamlessly, especially when working in pairs (one cutting in, one rolling).
VII. Keep Brushes Clean and in Shape
Most homeowners toss brushes after each job. Pros don’t. They treat them like long-term tools. Gibson shares her method: wash brushes immediately after use with warm water and a touch of dish soap for latex paint, or mineral spirits for oil-based ones.
Then, straighten the bristles with a brush comb and allow them to dry completely before placing them back into their original “keeper” packaging. That wax-coated sleeve helps retain their shape and airflow.
Clean tools don’t just last longer; they perform better with every project.
VIII. Swatch Before You Commit
One of the biggest reasons DIY jobs disappoint? Lighting. The same color can look completely different depending on sunlight, shadows, and décor.
Pros stresses that “a paint color you see online will look totally different in your home.” The solution is to test large swatches directly on your wall, live with them for a few days, and observe how they change from morning to night.
This small patience step saves you from regret, or worse, repainting the entire room.
IX. Use Canvas, Not Plastic
Plastic drop cloths may be inexpensive, but they are slippery, disposable, and easy to tear. We recommend using reusable canvas drop cloths instead. They are heavy, absorbent, and lie flat, reducing tripping hazards.
They can be easily folded around corners and doorways, unlike plastic, which bunches up and slides around. A 10-ounce cotton runner can last for years… “I’ve been using the same one for seven years.” Plus, canvas is the best way to protect floors while reducing waste.
X. The Secret Behind Every Perfect Paint Job
Here’s what the pros will never fully tell you, because their real skill isn’t in the tools or the paint, but in the patience.
Every professional painter relies on hundreds of small, repetitive checks: feathering edges while paint is wet, reloading rollers before they drag, keeping pressure consistent, stirring often, sanding lightly between coats.
Each of these micro-habits prevents the tiny flaws that make DIY jobs look uneven. That’s why, as The Spruce explains, professionals build “smooth, even coverage with steady rhythm and care.”
If you’re wondering how to professionally paint a room and truly get it right, the truth is this: it’s a process built on time, repetition, and discipline.
A Reality Check: You’ll Never Know Every “Professional Painting Tip and Trick”
Even experienced DIYers hit their limit (sometimes literally). Painting is like therapy, so rushing doesn’t work, and professionals understand this. That’s why years of doing the same thing inevitably gives you the experience DIYers simply don’t have.
That’s the hidden truth about professional painting tips and tricks: there are always more. The difference isn’t just knowledge. So, how do professional painters paint a wall? Slowly, methodically, and with precision that only comes from repetition.
So, if you’re short on time or need guaranteed, polished results, hiring an expert team may be the smartest investment. Professional painters already have the habits, tools, and rhythm down to an art form.
After all, paint is the one finish everyone will see, and the easiest place to tell who really knew what they were doing (and who didn’t).
Now You Know How to Professionally Paint a Room
By now, you’ve seen that learning how to professionally paint a room isn’t about “clever shortcuts”. It’s more about sequence, accuracy, and patience. And repetition.
The pros make it look effortless because they’ve built discipline into every move: protecting surfaces, cutting in clean lines, boxing paint for consistency, and rolling with rhythm instead of speed.
Painting is one of those rare home upgrades where technique truly shows. The smoother the prep, the better the result. The steadier your brush, the longer it lasts. Even small details —stirring your paint often, sanding between coats, or letting each layer cure fully— can be the difference between “good enough” and flawless.
It’s also worth remembering what all the experts agree on: professional painting is less about color and more about control. The right tools, lighting, and mindset elevate the outcome as much as the product itself.
Still, not everyone wants to spend a weekend building muscle memory. Sometimes, the smartest move isn’t doing it yourself but doing it right.
If you want a smooth, even finish without the stress or guesswork, hiring professionals guarantees you’ll get it right the first time: no cleanup, no touch-ups, no regrets.
Discover the Koehn Painting difference – contact us today for a free estimate and step into a vibrant, freshly painted home!